Image: Freepik
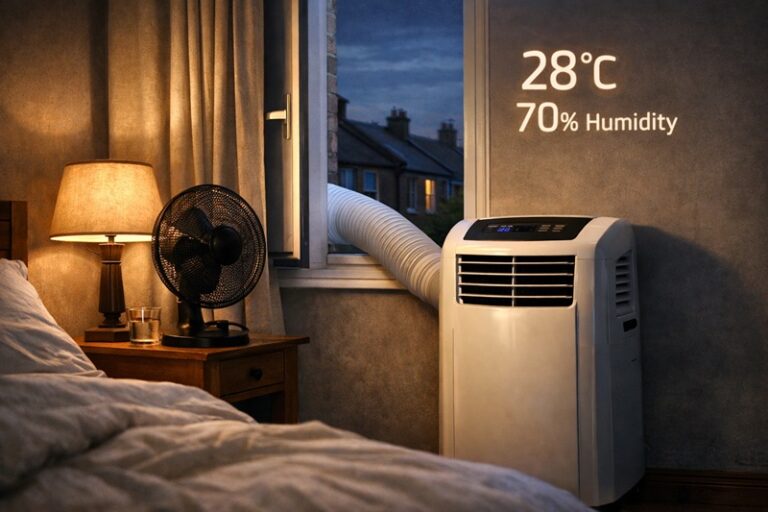
For most people, heating and cooling is one of the biggest drivers of those eye-watering utility bills – and the environmental impact is just as bad. The climate implications are the same: if an HVAC system is too big, set up badly or connected to leaky ducts, it will gobble up energy for the same level of comfort – year after year.
The good news is that getting an “energy-saving HVAC” system isn’t just about buying the most efficient unit you can find. It’s installation quality and how ready your home is that really determine whether the equipment is going to live up to its claimed performance.
Below is a practical, step-by-step guide for homeowners who want to enjoy reliable comfort without breaking the bank – or racking up avoidable emissions.
Key takeaway
A high-efficiency HVAC system can underperform if it’s not the right size for your house, not enough refrigerant, lacking airflow or connected up to leaky ducts – which is why proper installation and checking it over afterwards matters just as much as the model you buy.
First, plug up the comfort gaps
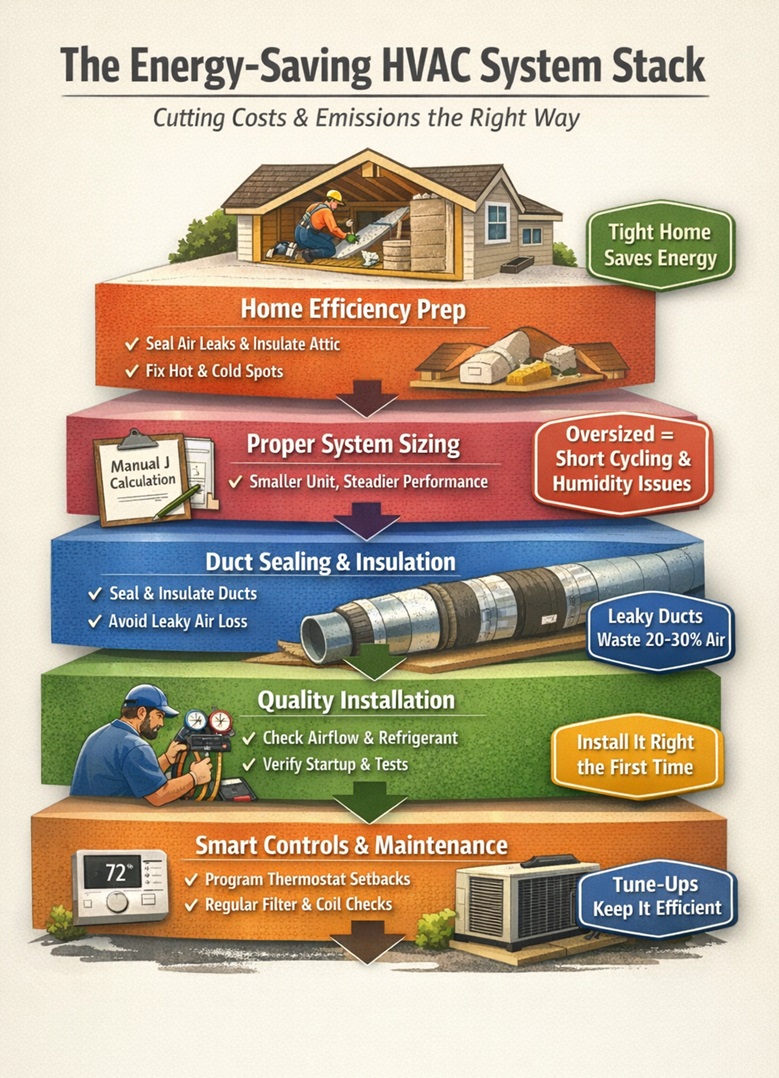
A brand new HVAC system can’t make up for a house that’s like a sieve or has next to no insulation. In fact, by fixing up the house first you might even find that you can get away with a smaller, cheaper system and enjoy better comfort right away.
Top pre-install priorities include:
- Sealing up any gaps or holes in the roof, especially around ducts and plumbing
- Adding some decent insulation to the attic – or even just levelling off the stuff that’s already there
- Fixing obvious gaps in your return-air system and any disconnected duct runs
- Tackling the rooms that always seem to be either too hot or too cold
Think of it like this: you’re making the house easier to keep comfortable. Which means the HVAC system then runs less, hums along more smoothly, and lasts longer.
Start with sizing: don’t let them just guess
Buying an HVAC system that’s too big is one of the most common ways to end up with an “inefficient by design” system. A properly sized system just runs more steadily, does a better job of controlling humidity and is less worn out from all the start-stops.
What to ask for:
- Get a proper Manual J load calculation (or something equivalent) to make sure the system is sized to the specific heat gain/loss of your house. Manual J is a standard used for sizing HVAC systems in residential settings – it’s been recognised by the American National Standards Institute for years.
- Make sure the contractor is using inputs that reflect what’s really going on in your house – so things like insulation, window type and orientation, air leakage, how often you occupy it and what the local climate is like.
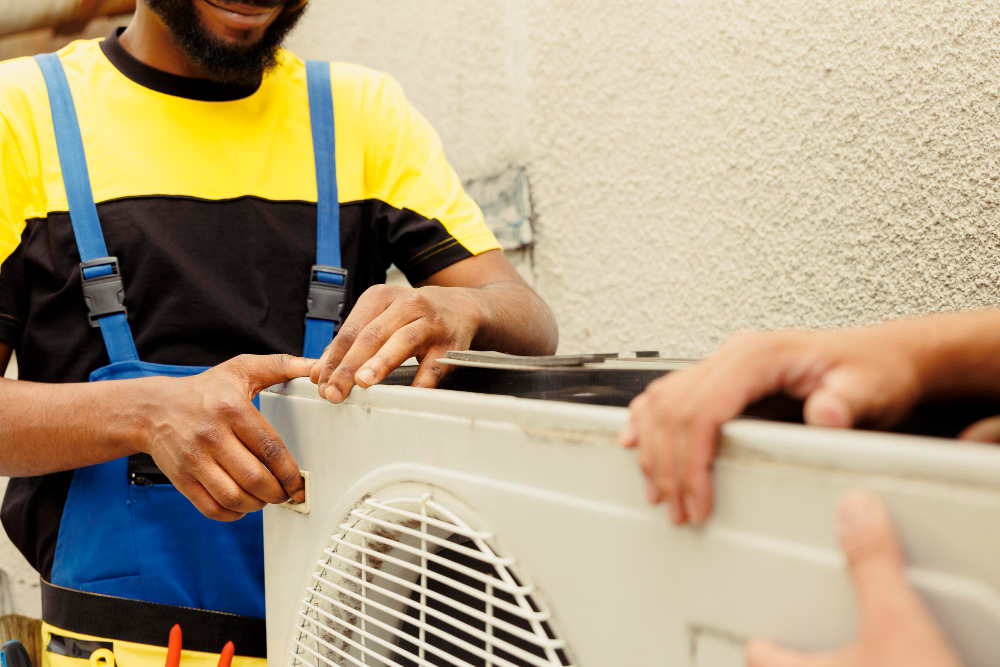
The kind of equipment you purchase and even how it is installed by an air conditioning installation service could significantly affect the long-term performance.
If the contractor is just using a rough estimate based on square footage, don’t take it – that’s just a guess.
Don’t get caught out on the latest efficiency ratings (SEER2/HSPF2/AFUE)
Efficiency labels are important, but you have to compare like with like:
- SEER2 and HSPF2 are the new cooling and heat pump heating efficiency tests introduced in 2023 due to some changes in testing procedures
- AFUE still applies to furnaces
Here’s a rough rule of thumb: treat higher efficiency ratings as a bit of an upper limit – it’s the installation and duct performance that really determine how close you get to that limit.
Heat Pumps vs Traditional Systems – Making the Choice based on Climate and Fuel
More often than not, eco-conscious homeowners assume the most environmentally friendly choice is always a heat pump. But the real best option really depends on your local climate, how well your home is insulated, and whether you pay electricity or gas bills.
A practical decision approach to consider:
- Milder and more moderate climates: heat pumps can provide strong efficiency and be really comfortable.
- Really cold climates: heat pumps can still work well but it is essential to get them sized right, have a proper backup heat plan in place, and ensure the ducts are performing well.
- Poor insulation or leaky ducts -first tackle the envelope problem rather than just upgrading to new equipment
It’s not just about choosing the one “best” system. It’s about picking the system that performs efficiently under your specific conditions.
Fixing Duct Losses First: Leaky Ducts can Erase Equipment Gains
If you have a home with a ducted heating and cooling system, the ducts themselves can be a significant source of wasted energy. According to ENERGY STAR, in an average home, around 20-30 per cent of the air being blown through the ducts is lost due to holes, leaks and subpar connections.
Priorities for the installation stage:
- When sealing joints use mastic or UL-listed metal tape (and not your regular old ‘duct tape’).
- Insulate the ducts in the unheated areas of the house (attic, crawlspace, garage).
- Avoid bending flex duct or making sharp turns that might restrict airflow.
- Balance the supply and return paths so that no rooms become a pressure zone.
Overall, sealing up your ducts can not only improve the comfort of your home but it may also allow you to get away with smaller equipment because the system isn’t “leaking capacity”
Don’t Trade Efficiency for Indoor Air Quality – Plan Them Both Together
Many homeowners add thicker filters or extra ventilation after the system is installed and are then puzzled as to why airflow has dropped or the system has become noisier. Upgrading air quality works way better when it’s actually planned into the system from the outset.
Consider the following:
- Filteration that is matched to the capacity of the blower (so that airflow stays within spec)
- Controlled ventilation strategies that don’t overwhelm the heating/cooling loads
- Controlling humidity (especially in hot and humid climates) to reduce the risk of mould and improve overall comfort
Simple goal: get cleaner air in your home without forcing the HVAC system to work any harder.
Demand ‘Quality Installation’ Basics – Refrigerant Charge + Airflow + Commissioning
A lot of efficiency losses come from what you can’t actually see: incorrect refrigerant charge, inadequate airflow, and unverified performance. ENERGY STAR’s quality installation guidelines highlights core requirements including proper sizing, correct refrigerant charge, adequate airflow, and sealed ducts.
What you should ask for (in plain English):
- Measured airflow across the indoor coil (don’t just assume it)
- Refrigerant charge verified using the manufacturer’s procedures
- Static pressure checks and filter setup that won’t choke the system
- A commissioning checklist or documented start-up testing (especially for heat pumps)
This is where the good contractors separate themselves: they measure, they document and they fine tune.
Putting Equipment Where it Makes Sense to Reduce Heat Stress and Maintenance Headaches
When you stick equipment in a poor spot, things get worn out faster and cost more to run:
- Outdoor units baking in the sun or stuck in tight corners get hotter and run way less efficiently.
- Indoor gear crammed into a cramped space practically begs you to put off maintenance.
Putting it in the right spot is a no-brainer – here’s how:
- Give outdoor condensers room to breathe – and keep some space around them for airflow.
- Don’t let landscaping get all up in the coils’ business.
- Install indoor stuff where filters and getting inside are dead easy – because easy maintenance is key to long-term efficiency.
How to Keep the Heat and Cold in – and the Money in Your Pocket
HVAC does its job way better when the house doesn’t have a giant hole in it that’s bleeding all your conditioned air away. Apparently, according to ENERGY STAR, air sealing and adding some extra insulation where it’s needed can cut your heating and cooling costs by about 15% if you do it right (attics, floors over crawlspaces, basements).
Wise pre-install moves:
- Seal up those big gaps and holes in the attic.
- Make sure doors are weather stripped and deal with any obvious window leaks.
- Top up that attic insulation if it’s thin or patchy.
And not only will this save you cash – it’ll also make the house feel way more comfortable – fewer drafts, steadier temps, less on-again-off-again nonsense.
Throttling Back Throttles Energy Savings
Your thermostat doesn’t magically make the equipment more efficient, but it does reduce all the wasted runtime when you’re not home. According to the US Department of Energy, just by setting the thermostat back by 7°-10°F for 8 hours a day (and only when you can get away with it), you can save up to 10% per year on heating and cooling.
Two bits of practical advice:
- Heat pumps react weirdly to deep thermostat cuts; try smaller adjustments instead.
- The “best” thermostat schedule is the one you can actually stick to – automation helps you get there.
Making Humidity Work for Comfort – Not Against Energy Use
For lots of homes, “comfortable” isn’t just about the temperature – it’s about the humidity too. If the indoor air gets too sticky, people will just crank down the thermostat to feel okay – which just wastes more energy.
An efficient system should be able to:
- Deal with moisture effectively without getting all stressed out
- Not be so big it starts short-cycling and leaving humidity all over the place
- Have airflow and ducts tuned to make all this work like a charm
Which is why proper sizing and airflow verification are such a big deal: comfort and efficiency go hand in hand.
Keeping Efficiency Alive – Maintenance isn’t optional, it’s essential
Even the most perfectly installed heating and cooling system will start to drift over time:
- Filters get clogged, and the system starts to struggle.
- Coils get dirty, and cooling performance slows way down.
- Refrigerant issues can pop up, and electrical components start to wear out.
A regular maintenance checkup can prevent that and keeps your system running at its best, catching small problems before they become major energy-draining headaches.
Working Out Whether Upgrades Are Worth It
You don’t need to be a math whiz to make a smart decision about upgrades. A simple way to estimate is to follow these basic steps:
- Start by estimating how much you pay annually on heating and cooling.
- Figure out which upgrade has the biggest potential to save you money (duct sealing, air sealing/insulation, right-sizing, or thermostat setbacks).
- Work out a conservative estimate of the savings you might get from the upgrade, then compare it to the cost of making the upgrade.
If an upgrade can reduce your HVAC runtime, the payback should be noticeable in:
- lower bills
- fewer comfort complaints from the people in your house
- longer equipment life, as the system doesn’t have to work as hard
The most reliable way to save money is by reducing waste (leaks, oversizing, or heat lost through ducts), not by chasing the highest rated label on a product.
Things To Ask Your Contractor (Before You Sign a Contract)
When getting a new heating and cooling system installed, make sure to ask your contractor to do the following:
- ✅ Run a Manual J load calculation (get the right size system for your house)
- ✅ Plan out how they’re going to seal any duct leaks, and whether they’re going to insulate the ducts in unheated spaces
- ✅ Verify that the airflow and static pressure are where they should be
- ✅ Make sure the refrigerant is at the right level, following the manufacturer’s guidelines
- ✅ Leave behind all the commissioning and start-up documentation
The Bottom Line
Cutting energy waste isn’t just about making one smart purchase decision – it’s about putting together a system that works as a whole. When you consider factors like sizing, duct integrity, verified airflow, refrigerant charge, and a tightly sealed building envelope, you’re not just cutting your bills – you’re reducing wasted energy for the life of the equipment.
If you want, paste your target country (U.S. vs UK vs other) and whether this is meant to be for consumers or for contractors, and I can tailor the language and efficiency metrics to match the market and standards.