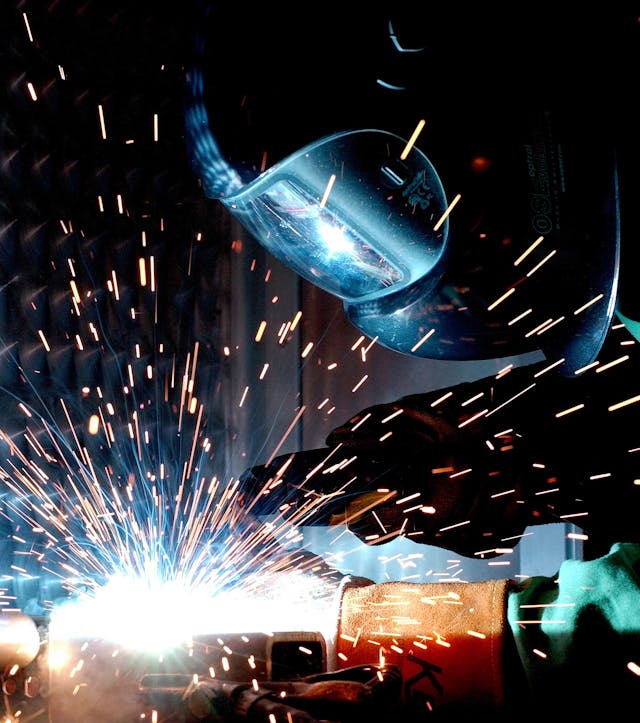
Diving into welding for the first time can feel like walking into someone else’s garage, you are surrounded by tools you don’t recognise, half of them sound like acronyms, and prices jump from cheap and cheerful to shockingly expensive in a flash.
While it is tempting to go all in with the latest welding supplies and shiny gear, getting started doesn’t have to burn through your savings. The trick is knowing what’s worth your money and what can wait.
Nail Down the Essentials First
Start with the core, which is your welding machine. Be it MIG, TIG or stick welding, pick a machine that suits the materials you plan to work with. Is it mild steel, stainless, maybe even aluminium later? This is your big-ticket item, so give it the attention and budget it deserves. Once you have sorted that, round things out with protective gear, a sturdy helmet with a decent reaction time, heat-resistant gloves, leather boots, and a basic but trustworthy jacket.
Now, consumables. You will want welding wire or rods, depending on your setup, contact tips, gas nozzles, maybe a regulator. If you are sourcing everything from the same supplier, you will save on freight and avoid headaches over mismatched parts. Flux-cored wire can be a budget-friendly place to start, especially if you don’t want to deal with gas tanks just yet.
Finding the Right Supplier Can Save You a Fortune
When you are building your first kit, the right supplier makes a real difference. Look for one that offers fair prices, decent bundles, and advice that doesn’t feel like a sales pitch. Bundled deals, like a welder, gloves, and helmet, often cost less than buying separately and save you the hassle of mismatched gear.
Reliable suppliers also run seasonal discounts or clear out older stock at sharp prices, which is perfect when you are working to a budget. Sure, second-hand gear has its place, but it is hard to beat the reassurance of buying welding supplies from someone who backs what they sell. And once you have got your kit, protect it by keeping consumables dry and stored properly so they last.
Upgrading Thoughtfully as You Learn
Once you have got the hang of things, your welds look decent, and you are not guessing where to strike an arc, you might feel tempted to upgrade. That’s fine, but do it with purpose. Jumping to a TIG torch when you are barely confident with MIG is not just overkill, but can slow you down and cost more than it’s worth at that stage.
Instead, focus on what genuinely improves your experience. That might be a better-fitting helmet, a longer torch cable, or investing in a proper workbench setup.
Keep Your Gear in Good Condition
Clean your torch after use, check cables for fraying, and replace contact tips before they cause headaches. These little habits extend the life of your gear and keep everything running smoothly. And they save you money because a neglected machine becomes an expensive paperweight.
Stock up on spares where it makes sense. A few extra liners, drive rollers, or wire spools can mean the difference between finishing a project and having to hit pause and wait for a delivery.
Safety and Skills Go Hand in Hand
You can throw money at equipment, but if your technique is lacking, it won’t make much difference. Learning is part of the kit. Watch tutorials, take weekend workshops, or tag along with someone more experienced. And always prioritise safety gear, helmet lenses, boots, jackets, and gloves that actually do their job.
Welding is one of those skills that rewards patience and persistence. Don’t rush the process, grow your kit as your abilities grow.
Takeaways
A smart welding kit is not the one with the highest price tag, but one that fits your needs, suits your budget, and keeps you progressing. So build slowly, choose wisely, and always back yourself to learn more. With a bit of planning and a sharp eye for value, you will be welding like a pro, without paying pro prices to get there.


