A small chop saw is a useful tool for do-it-yourself (DIY) projects, allowing for quick and precise cuts in wood, plastic, and metal. While compact in size, it is still a powerful machine that must be handled with care. Proper use not only prevents injuries but also helps ensure clean, accurate results.
This guide outlines five essential safety tips, along with additional advice on common mistakes to avoid and how to maintain your saw for long-term use.
What are the top safety tips for using a small chop saw at home?
The best safety practices include reading the manual, wearing protective gear, inspecting the saw before use, setting up a stable workspace, and using proper cutting techniques. These steps reduce accidents, improve accuracy, and help DIY users get better results with a small chop saw.
Key Takeaways
- Consistent safety habits are essential when operating power tools.
- Protective equipment and a stable workspace greatly reduce risks.
- Proper inspection and maintenance extend both safety and tool life.
- Read and Understand the User Manual
Each chop saw comes with a manual that explains its operation, safety features, and limitations. Before first use, read this carefully. Manuals provide critical details such as:
- Correct blade installation.
- Material compatibility (some saws are not designed for cutting metal or plastic).
- Maintenance instructions for blade alignment, cleaning, and part replacement.
Skipping this step can lead to misuse, tool damage, or accidents.
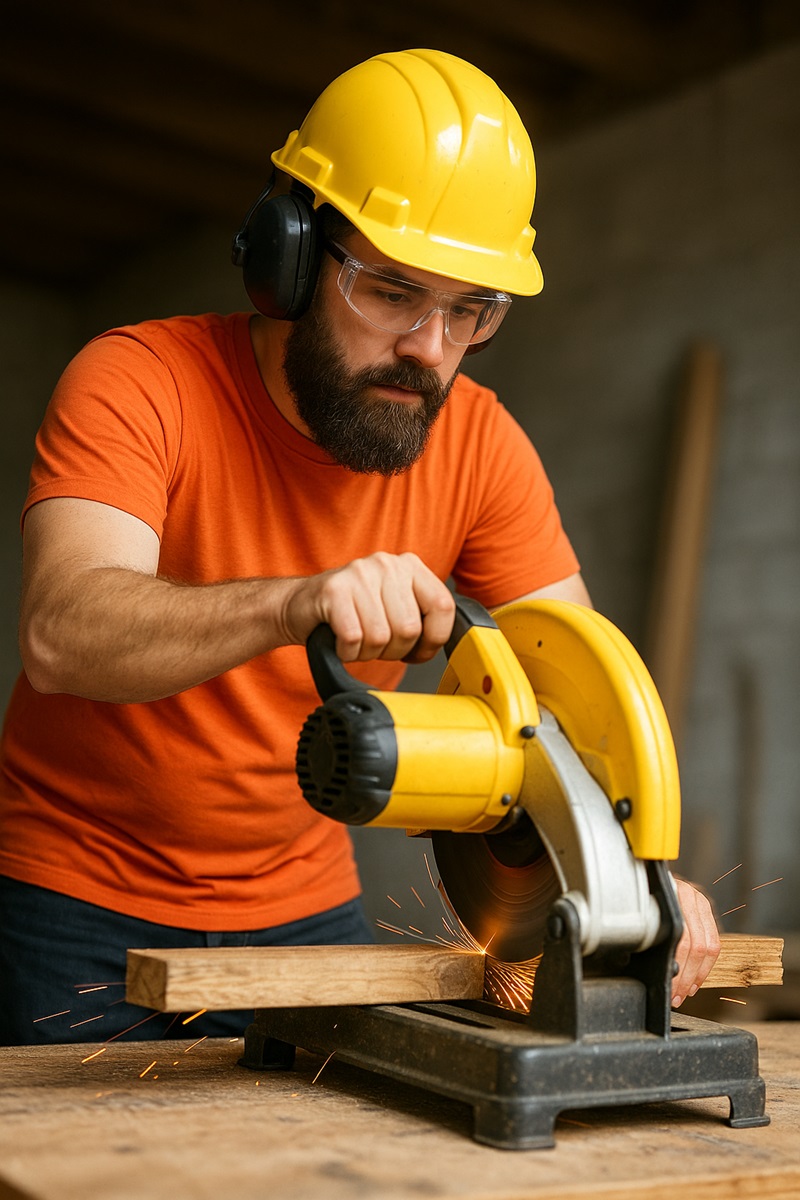
- Wear Proper Protective Equipment
Personal protective equipment (PPE) is essential when working with chop saws. At a minimum, users should wear:
- Safety glasses or goggles to protect against flying debris.
- Dust mask or respirator to avoid inhaling fine particles.
- Hearing protection to prevent long-term hearing damage.
- Fitted clothing and tied-back hair to avoid entanglement.
Gloves can be used for better grip, but avoid bulky styles that could catch in the blade.
- Inspect the Saw Before Each Use
Perform a quick inspection before starting:
- Ensure the blade is sharp, clean, and free from cracks.
- Verify that the blade guard moves smoothly.
- Check that the power cord and plug are intact.
- Confirm all screws and bolts are tight.
A few minutes of inspection helps prevent mechanical failure during operation.
- Set Up a Safe and Stable Workspace
A stable work area is crucial for safety and accuracy.
- Place the saw on a sturdy, level surface.
- Keep the workspace free of clutter to allow free movement.
- Use clamps to secure workpieces instead of relying on your hands.
- Ensure good lighting for precise measurements and cuts.
Supporting longer boards with stands or blocks prevents shifting or binding during cuts.
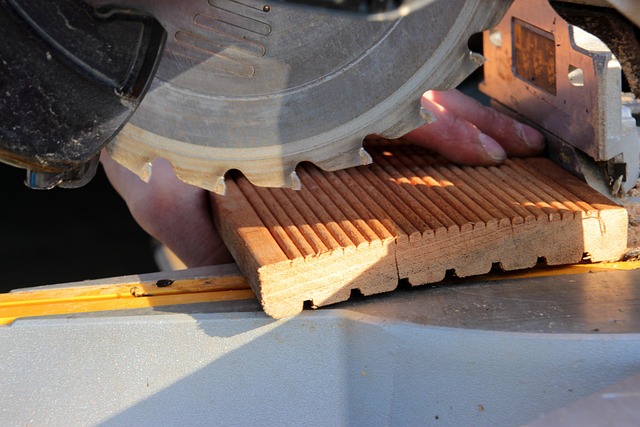
- Practice Safe Cutting Techniques
How the saw is used directly affects safety:
- Always clamp materials securely before cutting.
- Keep hands at least six inches away from the blade.
- Allow the blade to reach full speed before making contact.
- Use steady, controlled pressure rather than forcing the cut.
- Wait until the blade has stopped completely before lifting it after a cut.
For bevel or miter cuts, ensure angles are set correctly and knobs are tightened before use.
Choosing the Right Chop Saw for DIY Projects
Selecting the right tool is just as important as using it safely. Not every chop saw is designed for the same type of work, and choosing one that matches your project needs can make cutting easier, cleaner, and safer.
For homeowners and hobbyists, a compact chop saw for home projects is often the most practical choice. These smaller models save space in the workshop and are easier to move around compared to larger industrial saws. They also tend to be more beginner-friendly, making them suitable for anyone just getting started with woodworking or light metal cutting.
For example, the VEVOR small chop saw is frequently mentioned among DIY users because it balances portability with accuracy. It can handle many common household tasks while remaining manageable in size. Of course, any saw should be evaluated based on features such as:
- Blade size and cutting depth
- Safety mechanisms (guards, trigger locks, electric brakes)
- Material compatibility (wood, plastic, or metal)
- Ease of setup and adjustments
When comparing options, look for the best small chop saw for DIY projects that meets your specific needs. Reading reviews, checking user feedback, and testing the tool if possible can help ensure you select a saw that fits both your budget and skill level.
By taking time to choose the right model—whether a beginner-friendly chop saw or a more advanced design—you can improve project results and reduce risks during use.
Common Mistakes to Avoid
Even experienced DIYers sometimes overlook basic precautions. Avoid these common errors:
- Removing or disabling the blade guard – it is a critical safety feature.
- Cutting unsupported small pieces by hand – always clamp them.
- Working in poor lighting – this increases the risk of miscuts and accidents.
- Forcing dull blades through material – this increases kickback risk and damages the saw.
Recognizing these pitfalls helps maintain safe practices.
Maintenance and Storage Tips
Caring for your chop saw extends its lifespan and ensures safe operation:
- Clean dust and debris after each use.
- Store the saw in a dry place to prevent rust on the blade and moving parts.
- Replace blades as soon as they show signs of dullness or chipping.
- Periodically check calibration for accurate angle and depth cuts.
Routine maintenance not only improves performance but also reduces hazards.
Conclusion
A small chop saw is a valuable tool for home projects when used responsibly. Safety depends on preparation, inspection, protective equipment, and consistent cutting techniques. By avoiding common mistakes and following maintenance practices, DIY enthusiasts can enjoy efficient, safe, and long-lasting results with their chop saw.